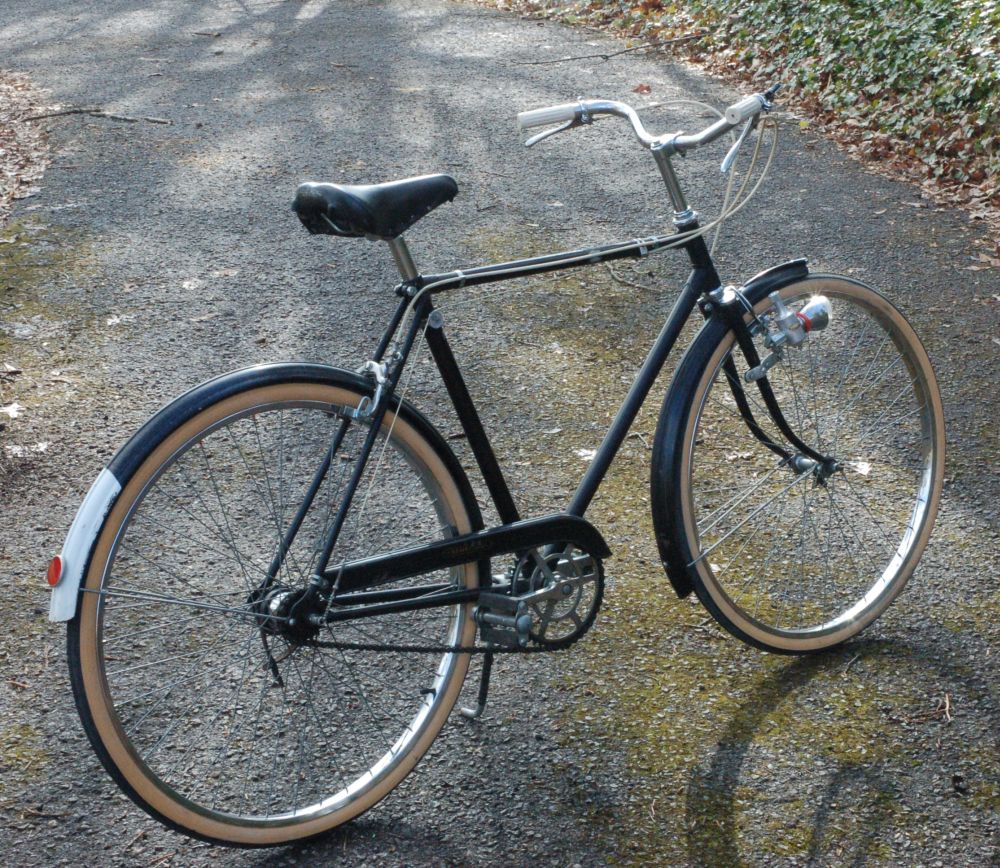
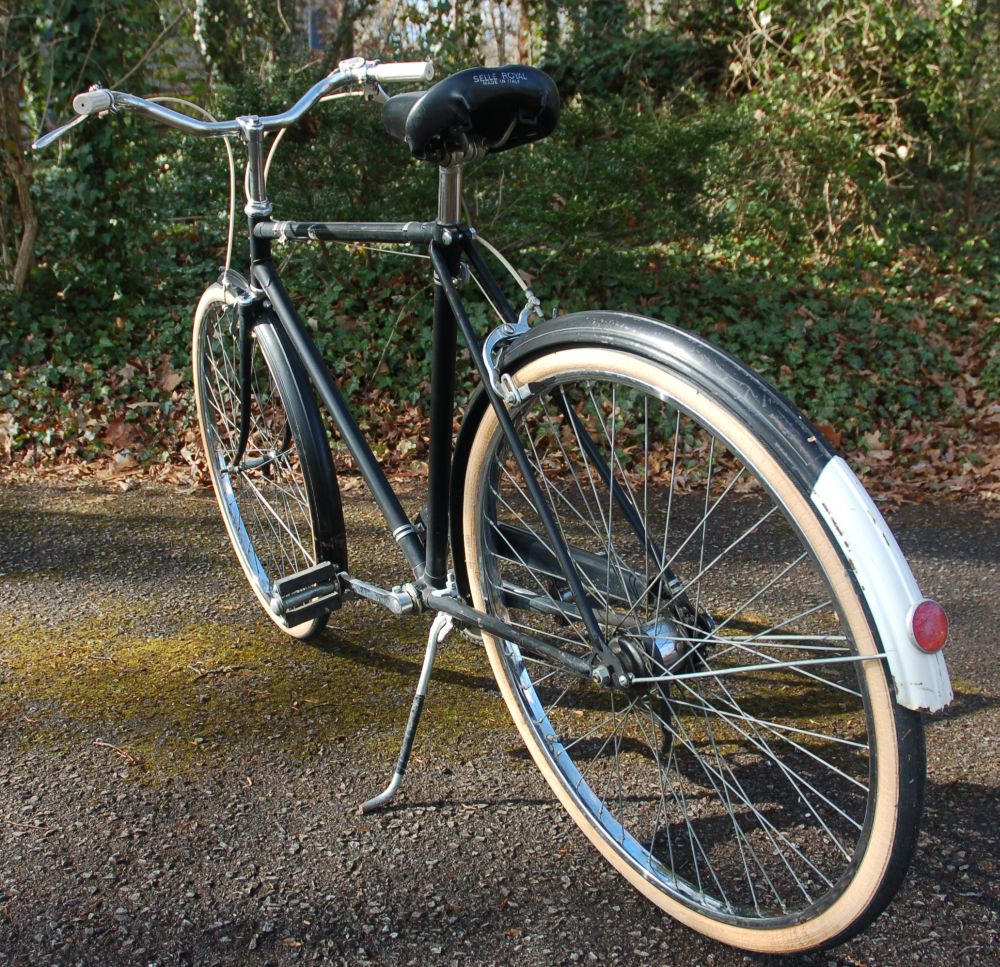
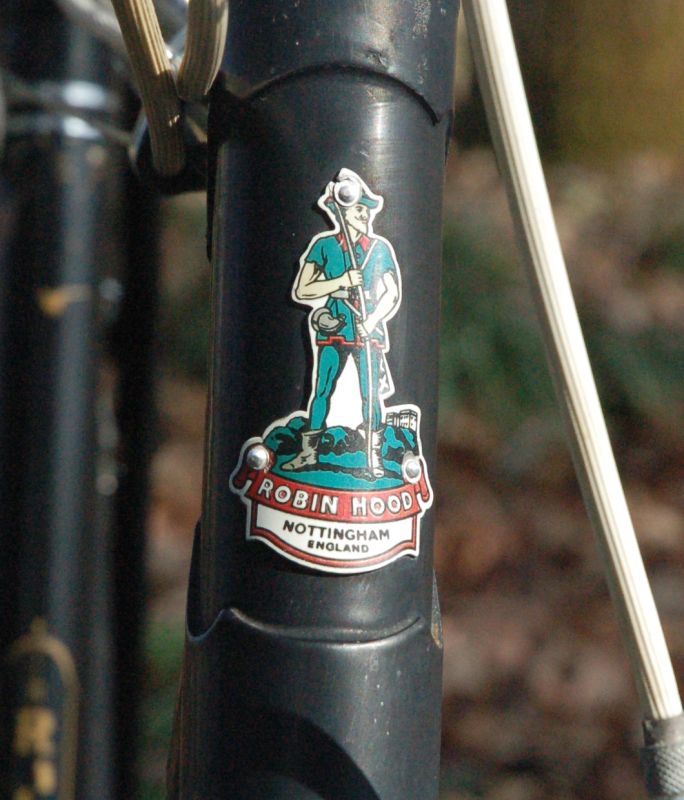
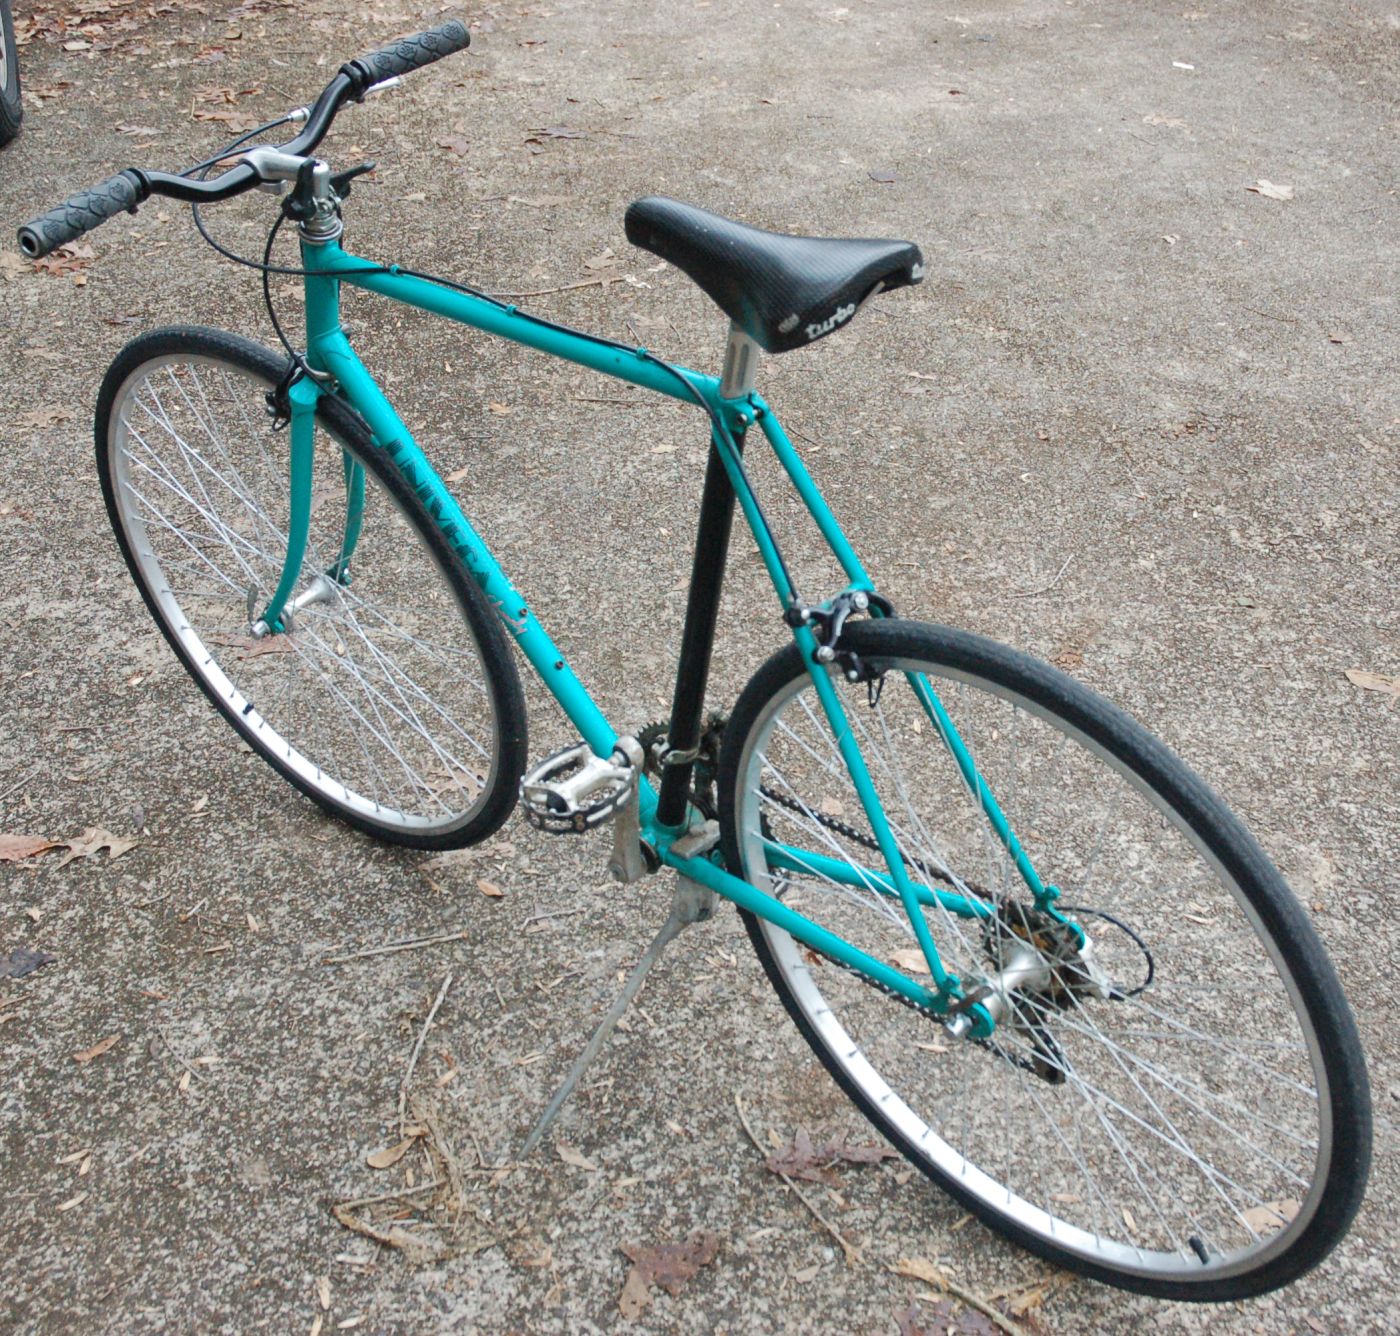
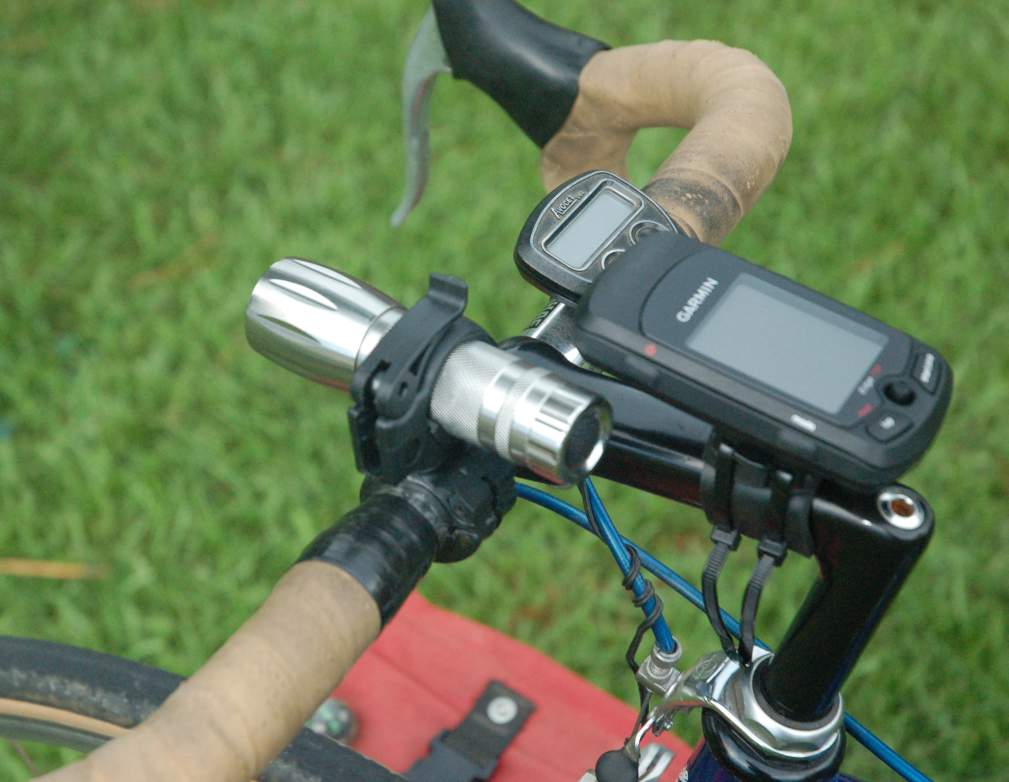
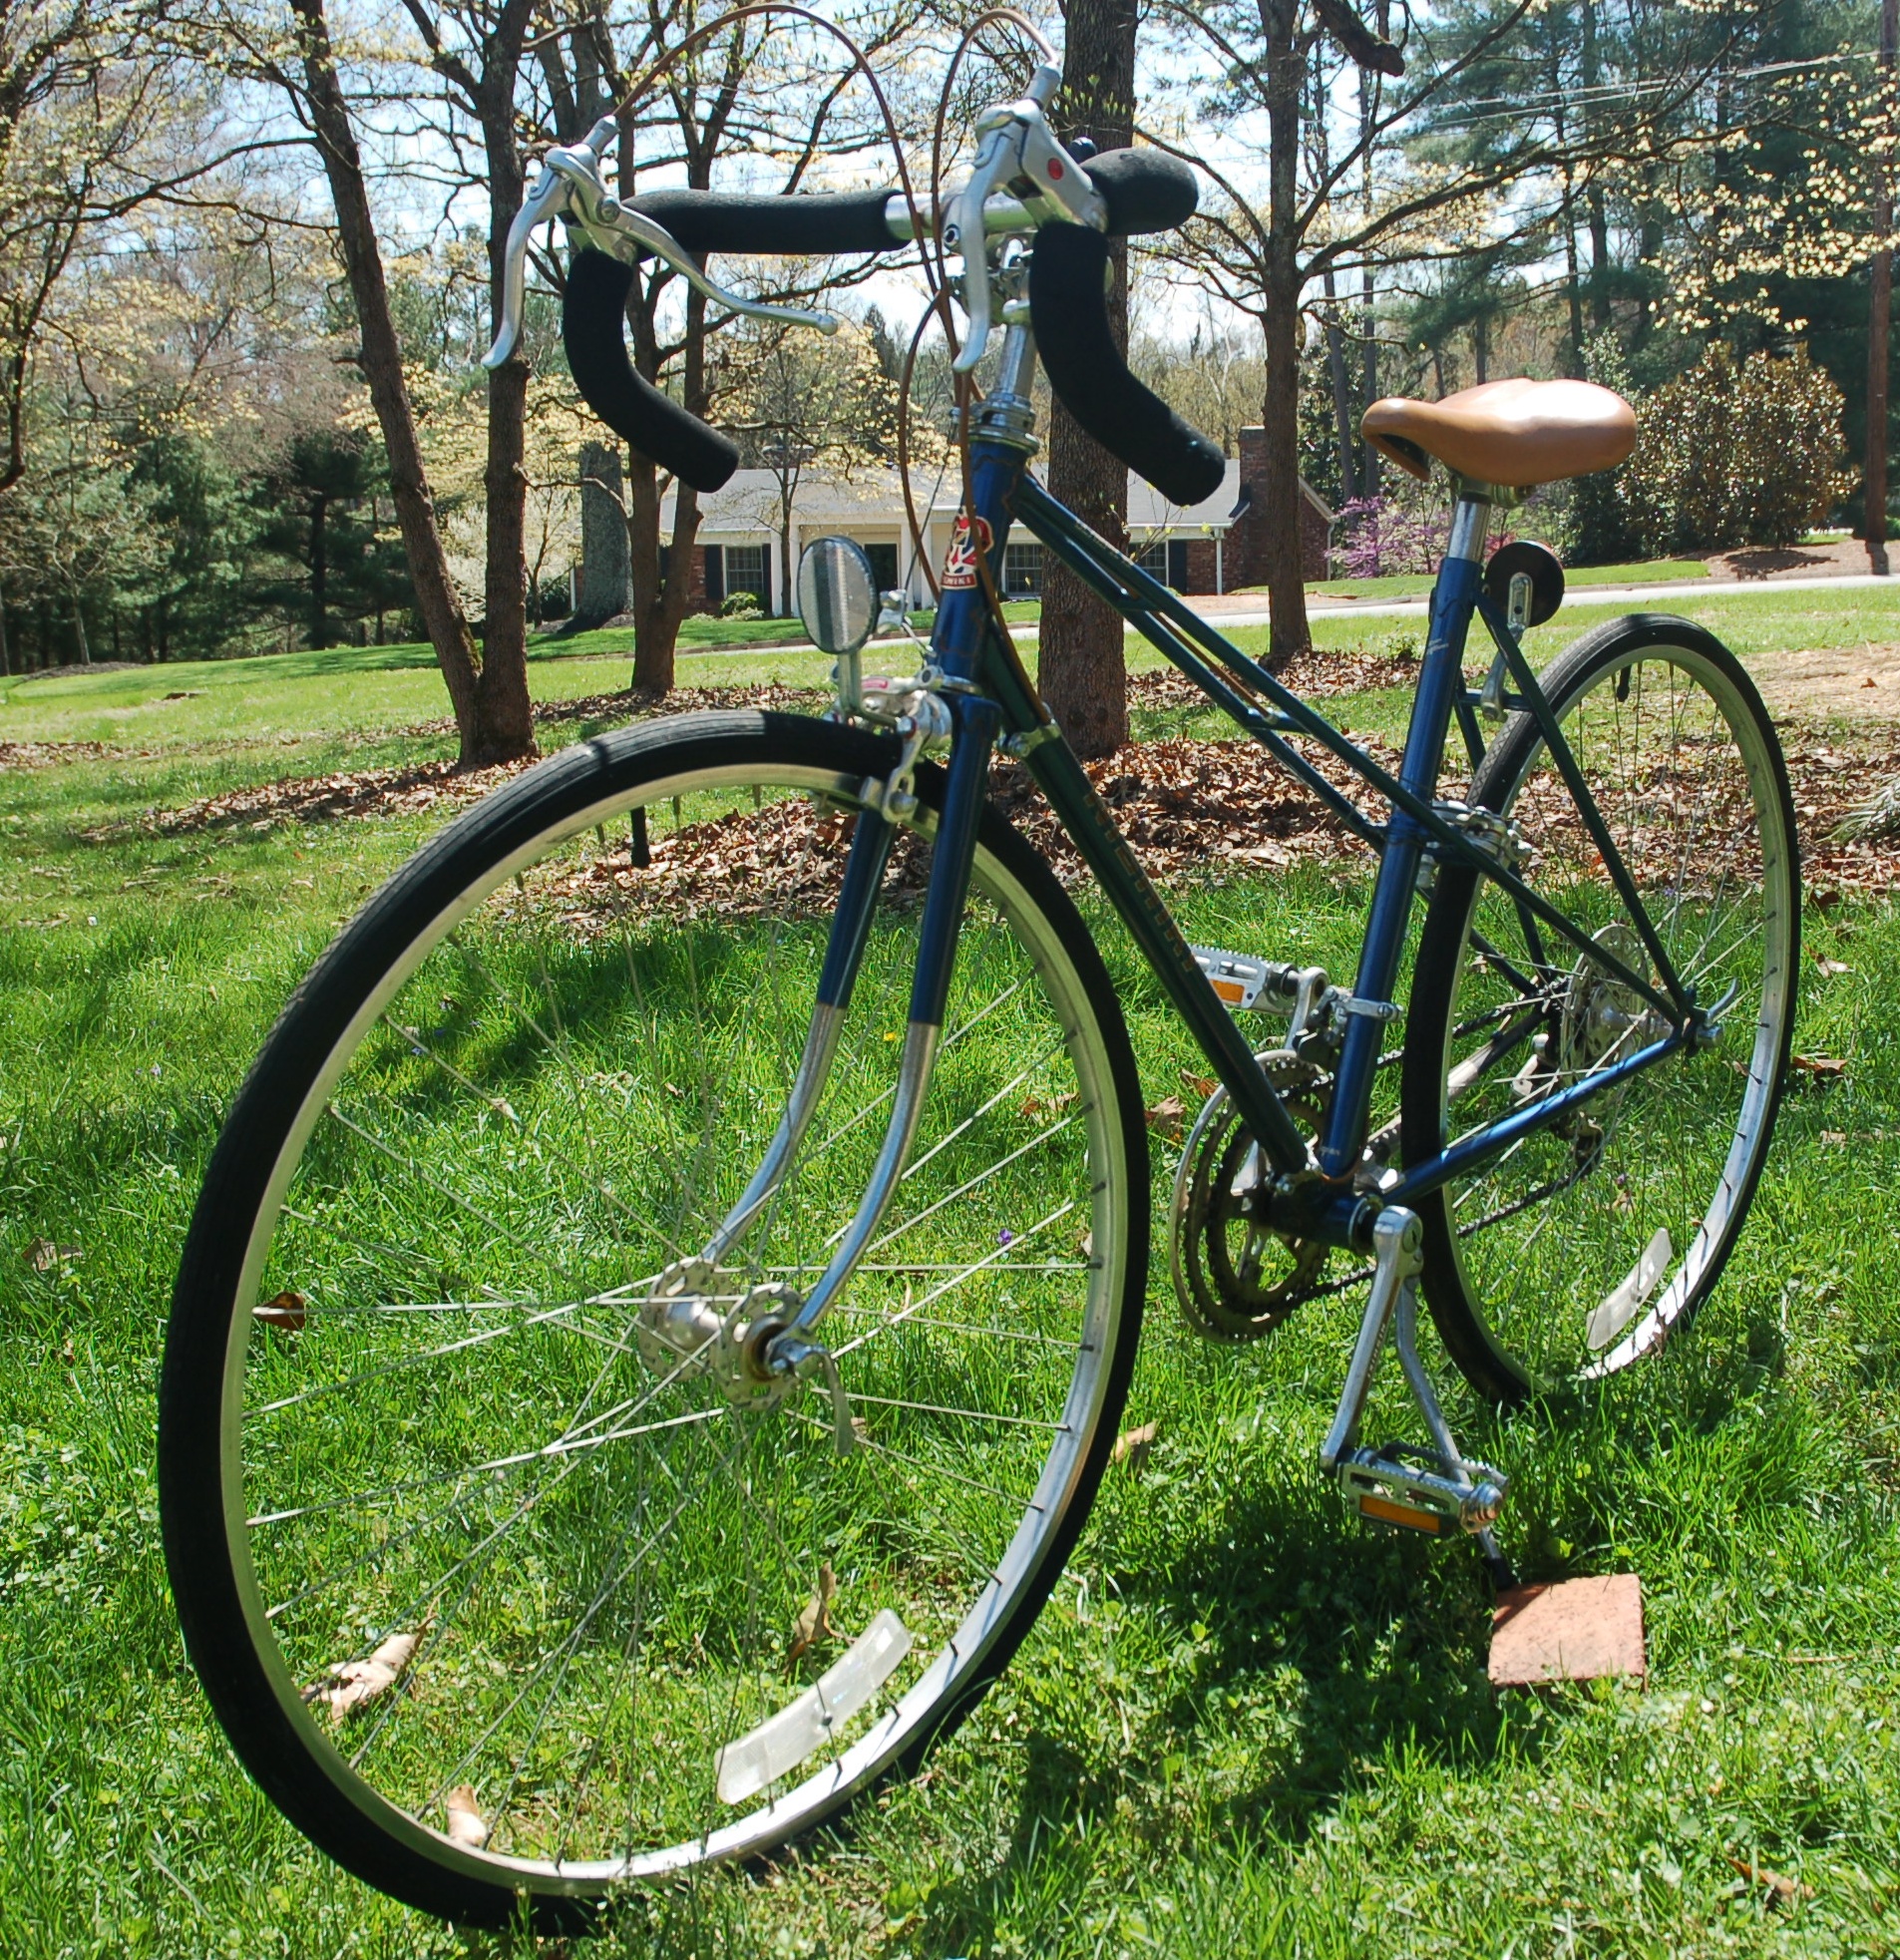
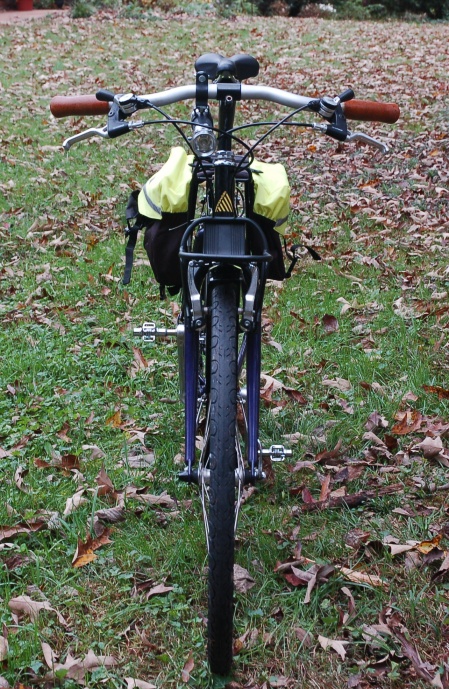
I guess you can say that one has reached the full depths of bicycle-induced dementia when the idea of one of these clunky, heavy-looking, fendered, upright, and usually black painted bikes looks cool. I mean, these things don't even have gears, right? Well, actually they do, they just use internal gearing in the rear hub. And, while the Robin Hood is certainly painted black, it's not nearly as heavy as it looks like it would be. And, besides, fenders are kinda handy if you're trying to stay clean when you're riding. So, rationalizations aside, one of the most recent additions to the museum is this 1965 Robin Hood. Robin Hood was apparently a company bought and owned by Raleigh in the early 1960s and this bicycle is basically the classic English 3-Speed, featuring the well-revered Sturmey-Archer 3 speed freewheel hub. The bike has been with it's mate, a step-over framed model of the same bike in the same color, but with a hub that indicates it is a 1966 model. Both are as-found and in remarkably good, functional condition. The only thing that does not work are the generator headlights, but I'm hopeful that some tinkering will get those 6 volt beauties to come to life.
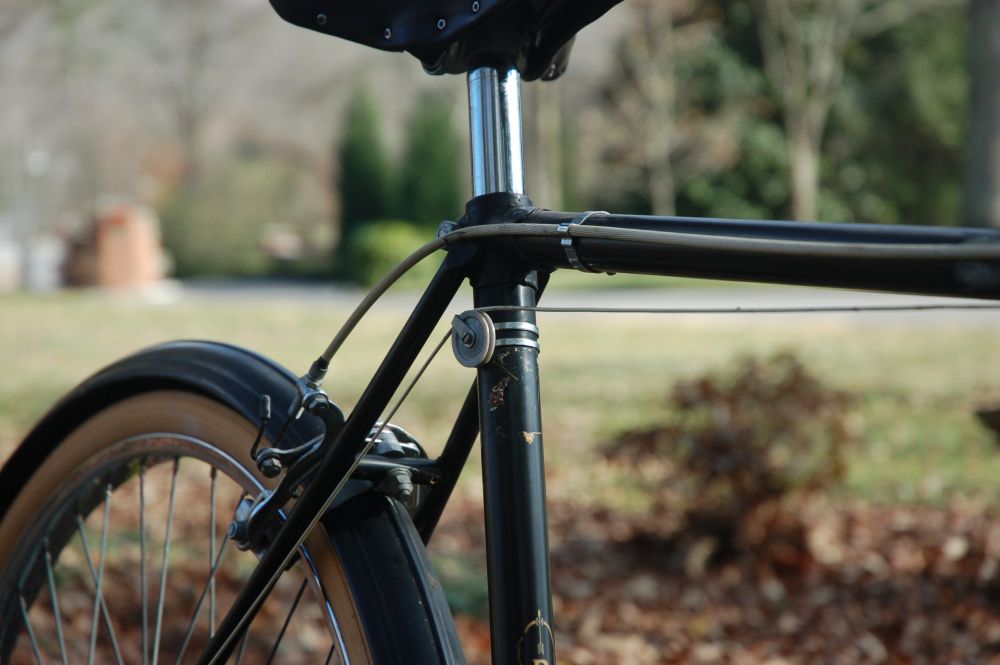
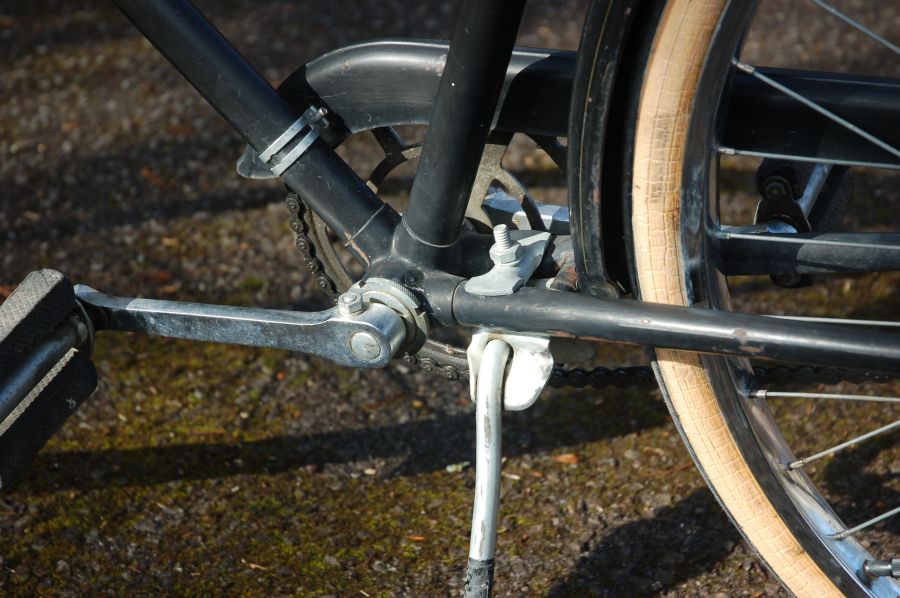
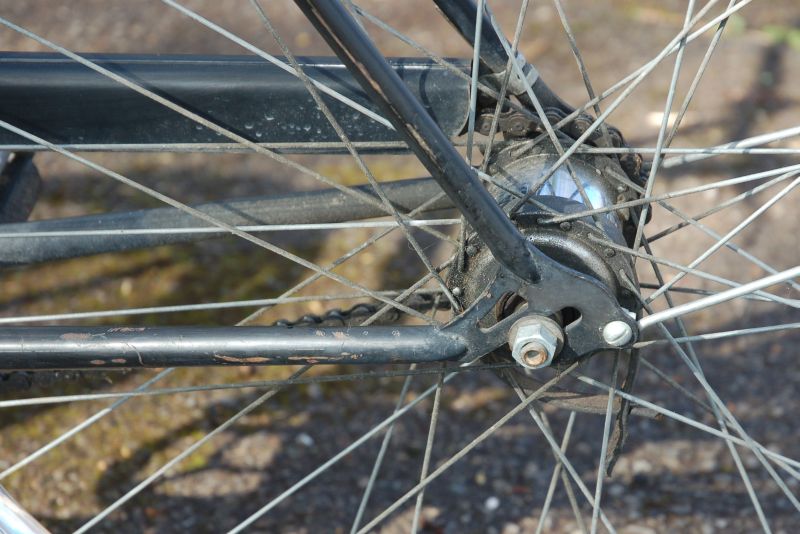
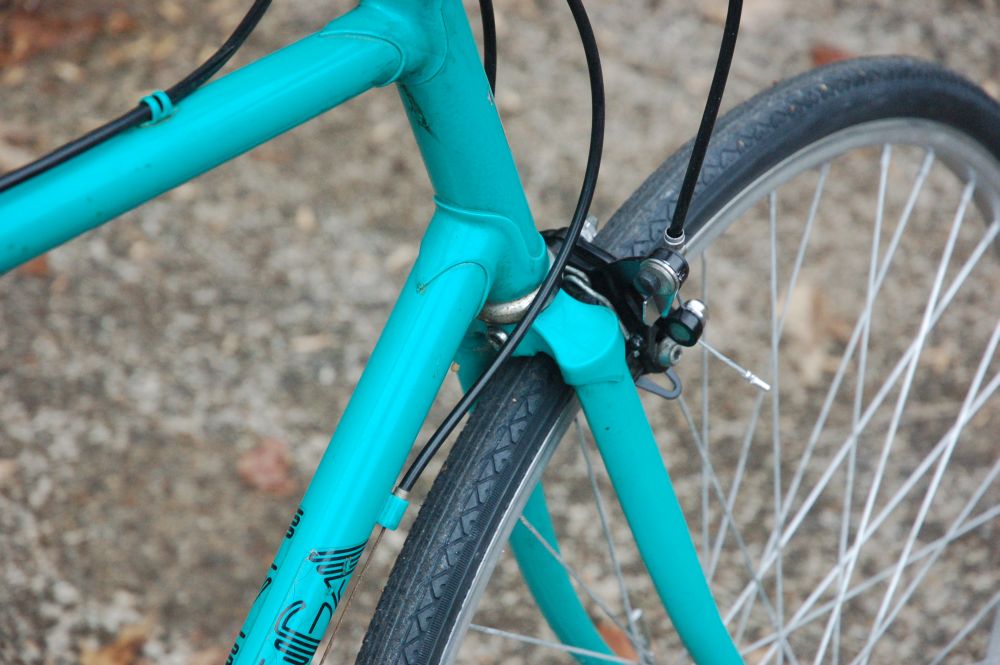
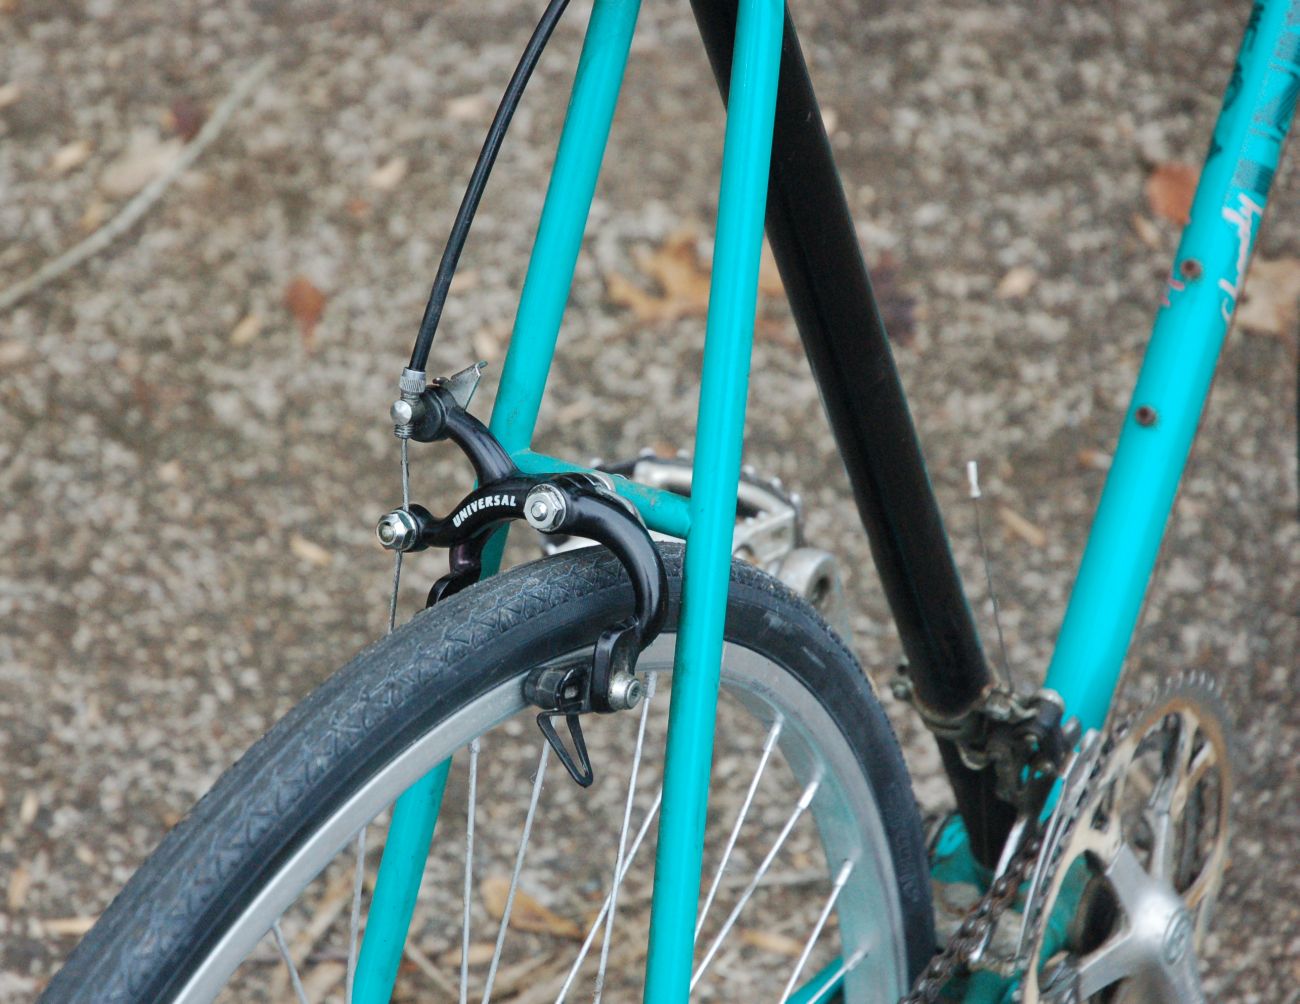
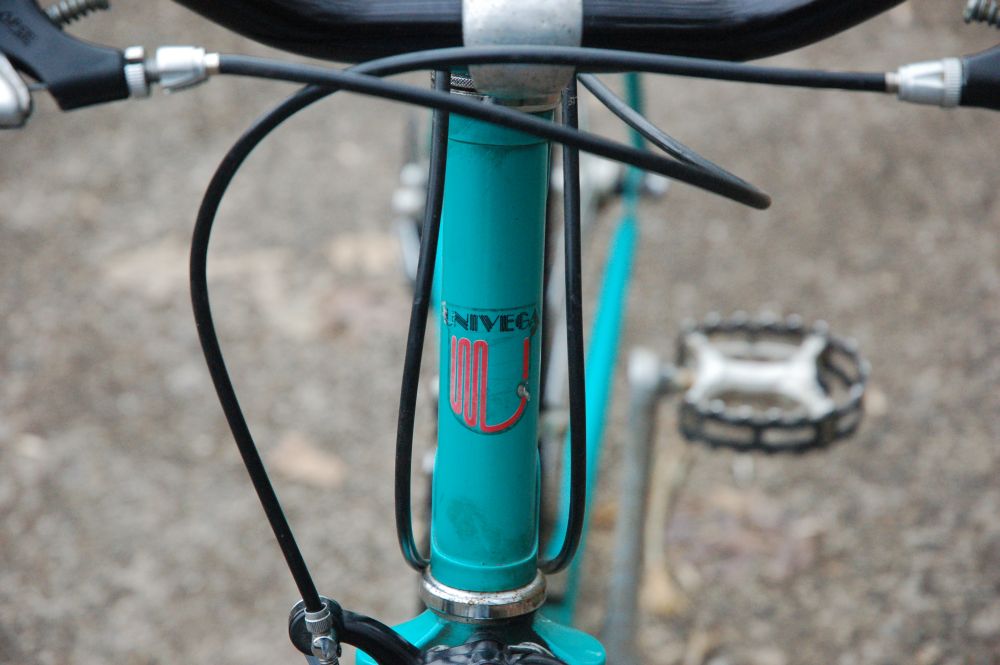
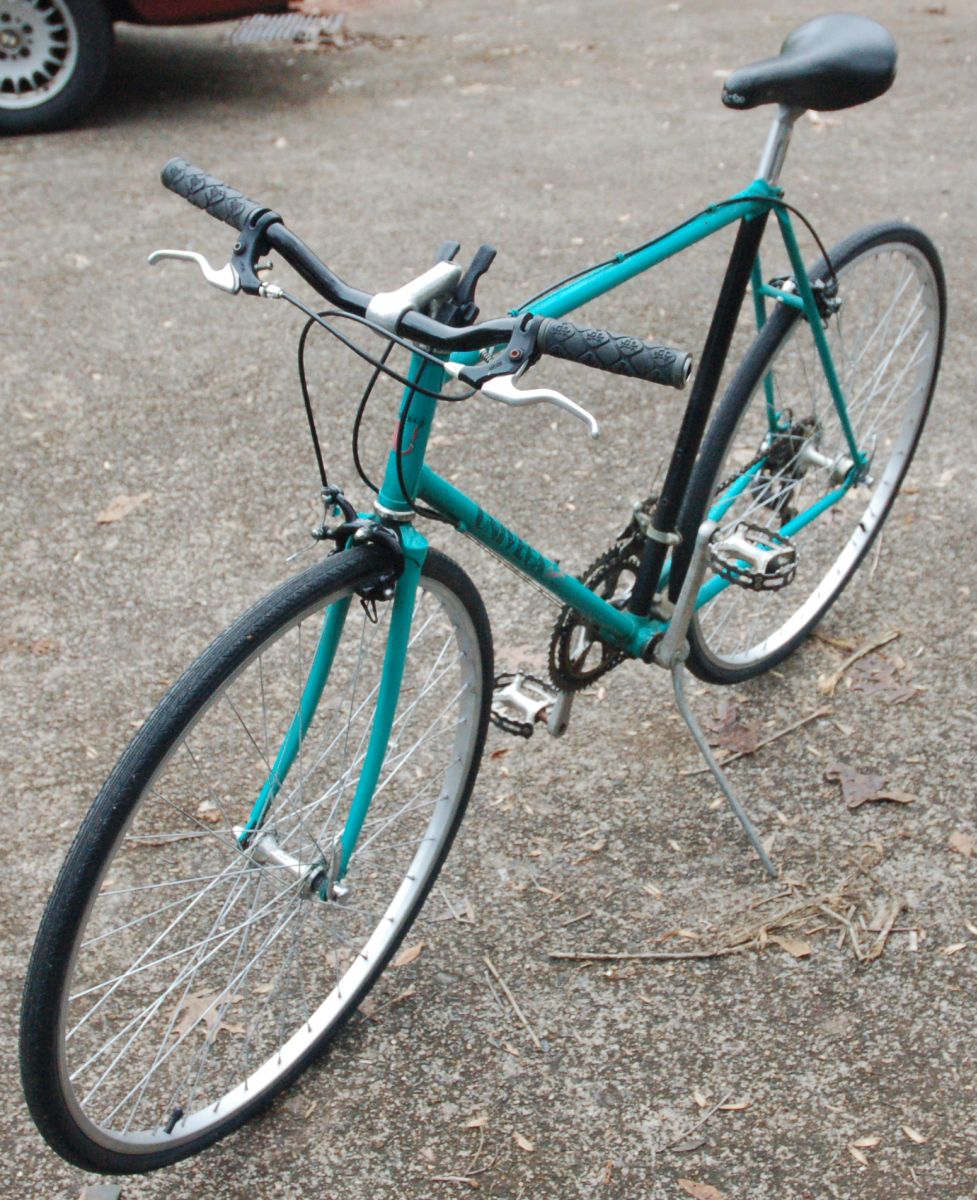
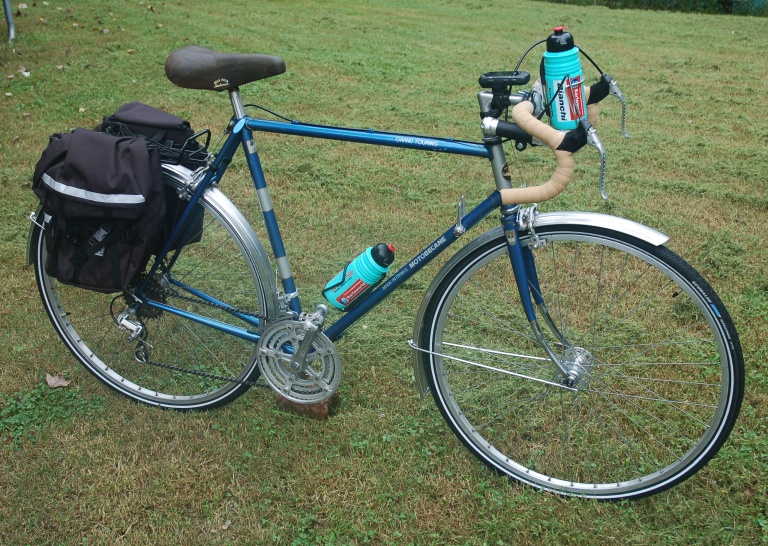
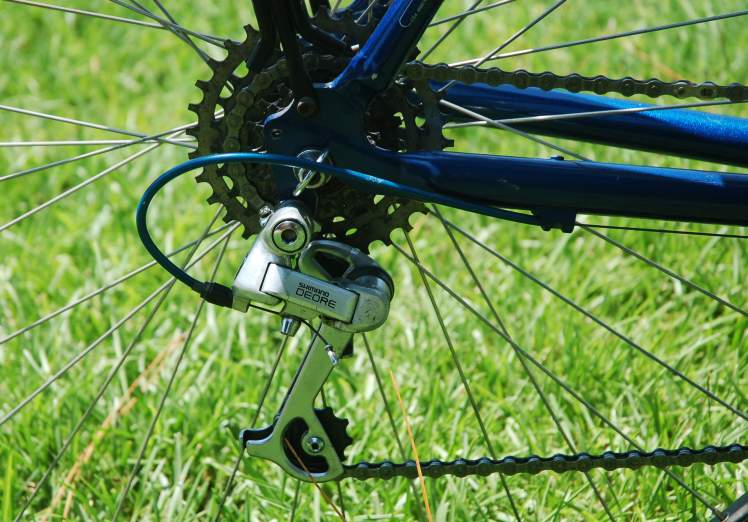
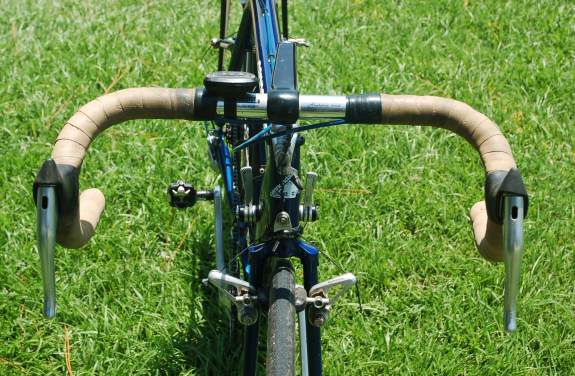
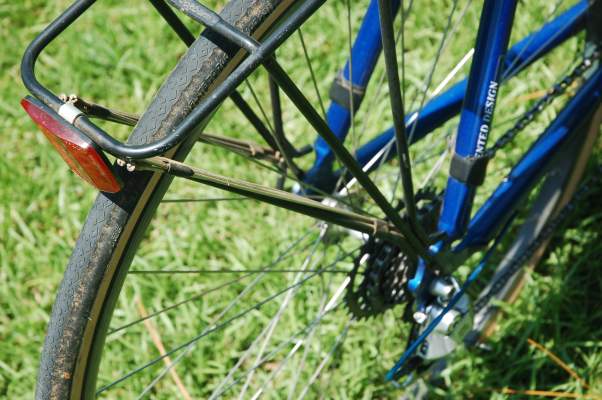
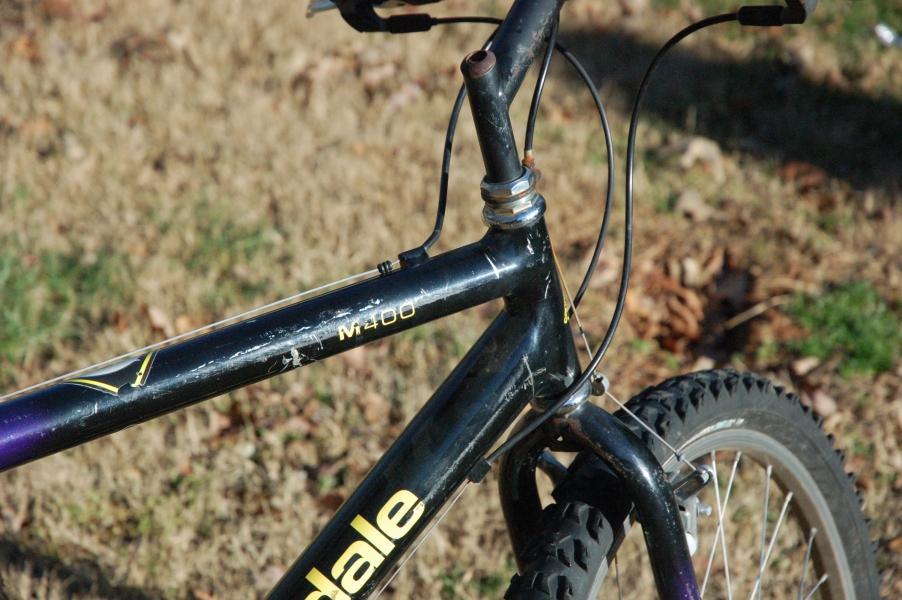
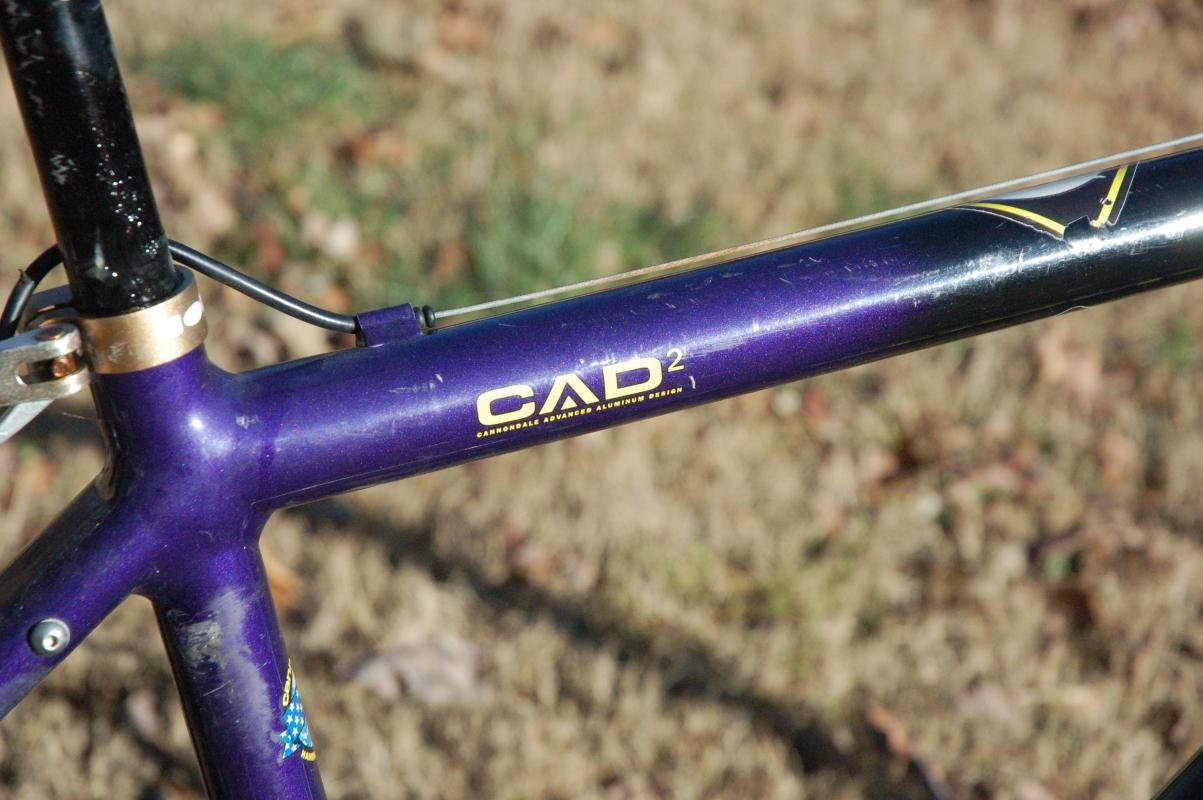
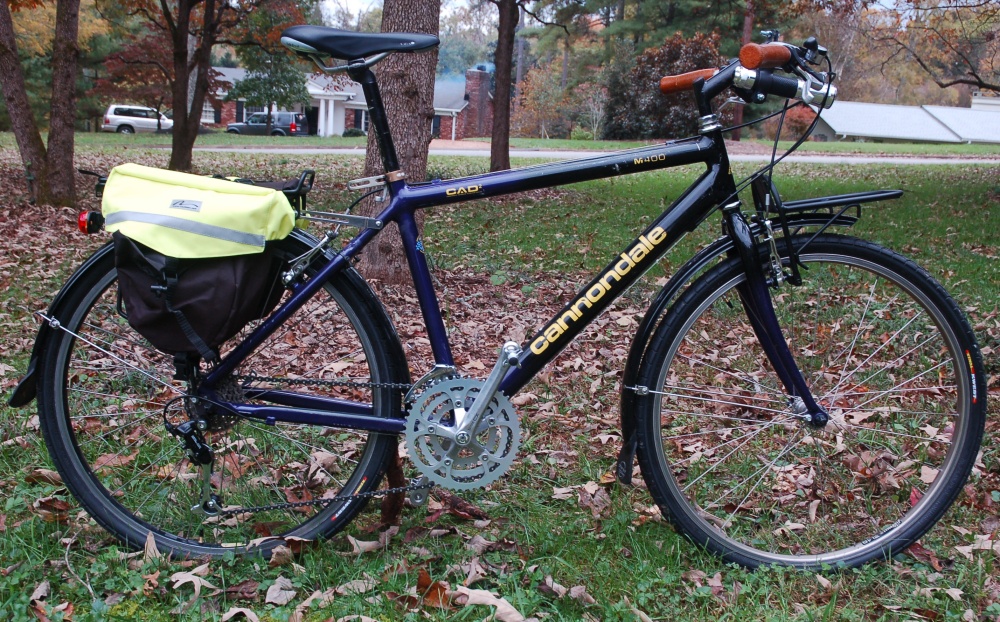
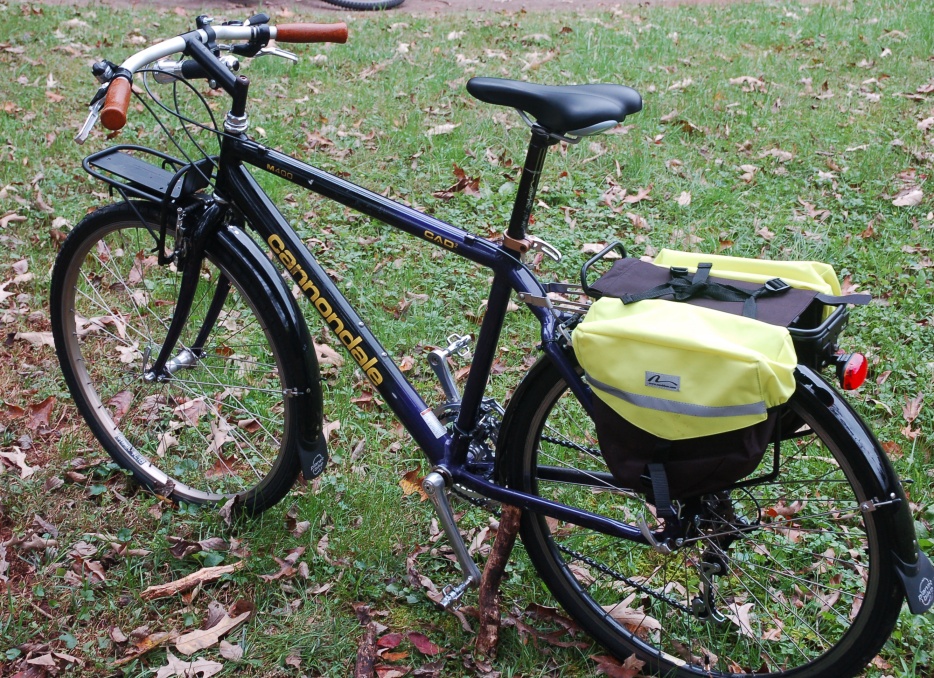
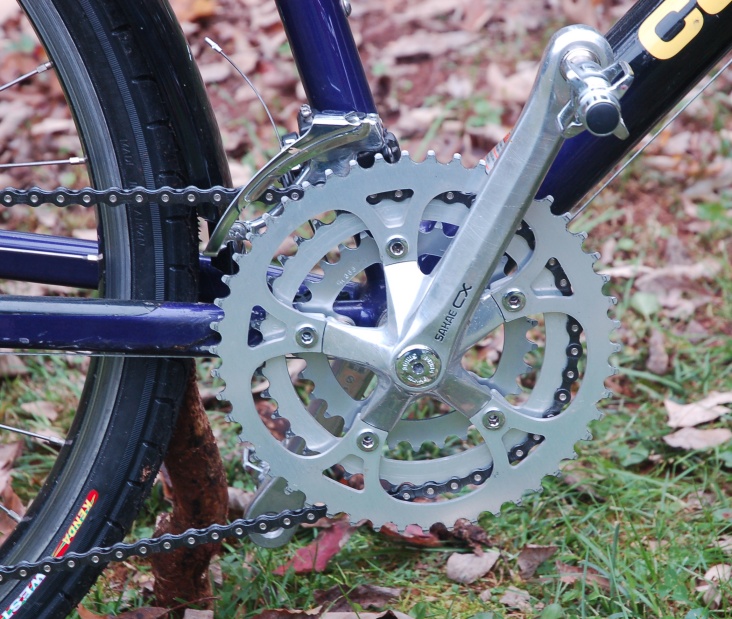
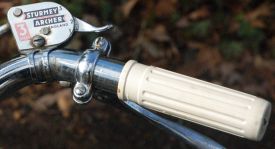
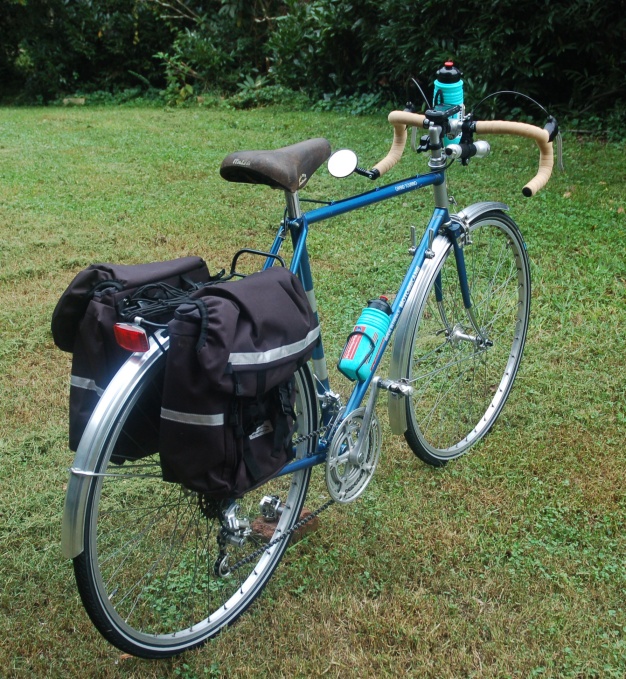
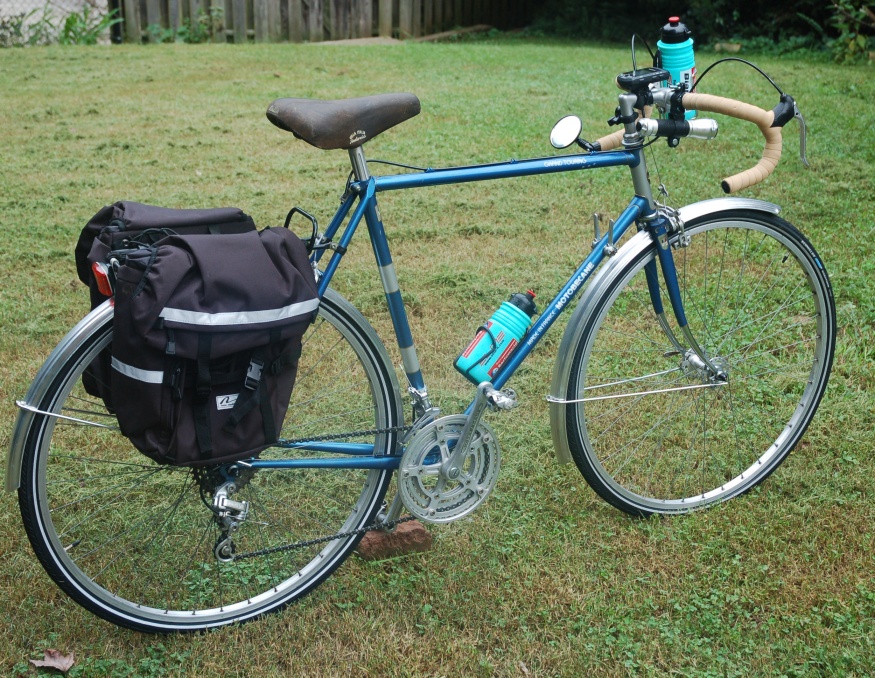
These have been interesting to learn about. They use 26" x 1-3/8" wheels, so there's nothing exotic about that. The 3 speed hub is fairly indestructible and not terribly difficult to adjust. At best the gearing on the bike (combined with the very upright riding position) is not ideal for east Tennessee, but I have read that changing the gearing is a very do-able prospect if desired. This bike, like most British machinery produced up through the late 1960s uses Whitworth hardware, so there will be a few new wrenches added to my toolbox to keep these bikes healthy. Here are some more pictures.
Recently in Urban/Utility Category
This is one to file under the "fixie style" category. Oh, wait, there isn't a category named that here....well, anyway, I answered an ad for a Univega with no photo. I've always found Univegas to be nicely made (for mass produced) bikes, so I figured it would be worth adding to the collection. At first, it looked like this:
It had been stored in a van and was generally grimey and smelled like an old basement. The tires were trash and I didn't even want to imagine what was the liquid that half filled the water bottle. Somewhat surprisingly, the gears all worked very nicely and were adjusted correctly. The brakes even worked.
But, alas, I don't know if was the seriously Miami Vice color scheme, the shear brilliance of the "SIS" Shimano 5 speed indexed rear freewheel or what, but I decided this bike needed a quick and simple facelift and then to be drafted into a fun bike for short trips....maybe one to keep at the office for errands or lunchtime riding. I replaced the seat and post with a spare Turbo saddle and a nicer post I had in my workshop. I replaced the heavy steel drop bars and levers with a slightly chopped riser bar and some old mountain bike brake levers that were on a set of bars I was already harvesting grip shifters for another bike from. Keeping with the theme of total recycling, I used best used cables and housings I had laying around for the brake setup. I'm not sure where the grips came from, but they were in the workshop too.
The rack came off and was hung on a hook. I believe I know just the right Robin Hood 3-speed bike that could use the rack as long as it cleans up nicely.
I replaced the brake calipers with a set of black Universal single pivot calipers that were original to my mid-late 80s Bertoni Nouvitalia.
The wheels were true and the bearings felt good, but there was rust on about a third of the spokes. Again, in keeping with the theme for this bike, aluminum engine spray paint came in quite handy after a quick scuff-down with some 100 grit sandpaper on the spokes. I wouldn't recommend this for anything but a project like this, but then again painting the aluminum silver on the old wheels does give me some sort of inner anti bike snobbery pleasure. For proper bicycle karma and inner balance, I used new tires and tubes (some sort of self-sealing or puncture proof tubes I had bought for another project a long time ago, no less!).
So, with all that description, here is the final product. I haven't had a chance to put many miles on this bike yet, but I have to say it's just fun to ride. I don't know if it's the position, the luck of a perfect fit or what, but it just puts a smile on my face...and kinda makes me want to pop a wheelie or something!

And, for the sake of providing some halfway decent photo documentation, here are some detail shots of the bike. Oh, by the way, the steel chainrings still have a residue from the rust jelly i used on them...so, there's a bit more sanding and detailing to do.
But, alas, I don't know if was the seriously Miami Vice color scheme, the shear brilliance of the "SIS" Shimano 5 speed indexed rear freewheel or what, but I decided this bike needed a quick and simple facelift and then to be drafted into a fun bike for short trips....maybe one to keep at the office for errands or lunchtime riding. I replaced the seat and post with a spare Turbo saddle and a nicer post I had in my workshop. I replaced the heavy steel drop bars and levers with a slightly chopped riser bar and some old mountain bike brake levers that were on a set of bars I was already harvesting grip shifters for another bike from. Keeping with the theme of total recycling, I used best used cables and housings I had laying around for the brake setup. I'm not sure where the grips came from, but they were in the workshop too.
The rack came off and was hung on a hook. I believe I know just the right Robin Hood 3-speed bike that could use the rack as long as it cleans up nicely.
I replaced the brake calipers with a set of black Universal single pivot calipers that were original to my mid-late 80s Bertoni Nouvitalia.
The wheels were true and the bearings felt good, but there was rust on about a third of the spokes. Again, in keeping with the theme for this bike, aluminum engine spray paint came in quite handy after a quick scuff-down with some 100 grit sandpaper on the spokes. I wouldn't recommend this for anything but a project like this, but then again painting the aluminum silver on the old wheels does give me some sort of inner anti bike snobbery pleasure. For proper bicycle karma and inner balance, I used new tires and tubes (some sort of self-sealing or puncture proof tubes I had bought for another project a long time ago, no less!).
So, with all that description, here is the final product. I haven't had a chance to put many miles on this bike yet, but I have to say it's just fun to ride. I don't know if it's the position, the luck of a perfect fit or what, but it just puts a smile on my face...and kinda makes me want to pop a wheelie or something!
And, for the sake of providing some halfway decent photo documentation, here are some detail shots of the bike. Oh, by the way, the steel chainrings still have a residue from the rust jelly i used on them...so, there's a bit more sanding and detailing to do.
I think this is the most recent addition to the museum. This is a 1981 (or so) Motobecane Grand Touring. The bottom bracket to seat tube measures around 58cm, but it seems to fit more like a 56cm. This bike belonged to a family member and until a couple months ago spent the previous 15 or 20 years sitting in a shed collecting dirt, dust and generally starting to look like a hunk of junk. Luckily, it was complete, original, and actually still in mechanically (well, almost) functional condition. Being the family member with the greatest love of old road bikes, I was gifted the bike. So, this became a bit of a 'rescue' job. I completely disassembled the bike and rebuilt it, replacing the lower headset bearings with some new, loose bearings but otherwise the original bearings were great. The only 'new' mechanical parts on the bike are the tires, tubes and chain. It took a good bit of time with varying grades of steel wools to get the bike to shine again, but now it's fully functional, sporting some new Velo-Orange fenders, some lights, some bags and new bar tape. I've put about 65 miles on the bike so far and it's very nice to ride. In fact, it's not necessarily slow either. The gearing is interesting with a very small step between the middle and large chainring and a wide range of five gears on the rear freewheel.
For now, this is the 2009 incarnation of the bike - enjoy!
This was a very nice surprise I stumbled onto via a Craigslist ad. With this picture:
...and the words Cannondale loaded touring bicycle. It turns out the bike was not only my size, but in remarkably great condition with complete upgrades of all running components (Deore, etc.) and a full set of racks, panniers, a couple alternate-gearing rear gear sets, a 6-speed era shimano freewheel tool and a new chain. I will update this with more information as I gather it, but I'm looking foward to putting this bike through its intended paces doing some light touring this fall.
I believe this bike started out as a 1990 T400, but with virtually all the components being changed, it's hard to tell for certain. As photographed, it's geared like a goat; it was set up for some serious loaded touring in the Colorado Rockies and parts of Canada.

I believe this bike started out as a 1990 T400, but with virtually all the components being changed, it's hard to tell for certain. As photographed, it's geared like a goat; it was set up for some serious loaded touring in the Colorado Rockies and parts of Canada.
I've been collecting the parts to build this for a while. Not so much out of necessity, but rather out of curiosity, I decided I wanted to build an "XtraCycle" or utility cycle out of an old mountain bike...or two, that is. So, over the last several months, I've kept my eyes opened for the right frames or bikes to build one with. I wanted an old, chromoly mountain bike as the main frame and I was looking for a dual suspension mountain bike to use the rear triangle as the frame extension. I happened on a straight, decent Schwinn Frontier for the main bike. It has cantilever brakes and no suspension, so it's a nice, solid ride. The rear triangle came from a Univega DS300. The cost for each donor bike was zero. As an extra bonus in the build, both sections were blue, so the extension will blend in a little better...well, sort of. The wheels are random spares, but ultimately it will have the best of the spares lying around.
This is the first 'stage' of the development of the bike. I used a section of square aluminum to make a connection between the point where the rear shock was attached to the rear triangle and the bottom bracket of the main bike. I used some simple measurements to make sure the bottom bracket height was close to (or even slightly lower, since that would afford better stability loaded) the original height with the extension mounted.
and some other photos showing the initial 'fit'.....
Several months after these test fit pictures, I made the decision to cannibalize a perfectly good Giant mountain bike for this project. (Actually, the Giant will survive, rebuilt with the throw-aways from this project and it will remain in its place as a perfectly good guest spare.) with the addition of a sturdy wheelset, V-brakes, and the fork with all of its threadless headset simplicty, the project came together nicely. The apparently color-coordination was not planned, but I guess it's a nice bonus. So, here it is in November 2009:
I used an old road bike rear derailleur as a tensioner. The first test ride seemed promising. It was stable, felt firm and seemed ready to start loading it up. I didn't try any wheelies!
Here's a close-up of the driveline:
This is the first 'stage' of the development of the bike. I used a section of square aluminum to make a connection between the point where the rear shock was attached to the rear triangle and the bottom bracket of the main bike. I used some simple measurements to make sure the bottom bracket height was close to (or even slightly lower, since that would afford better stability loaded) the original height with the extension mounted.
Several months after these test fit pictures, I made the decision to cannibalize a perfectly good Giant mountain bike for this project. (Actually, the Giant will survive, rebuilt with the throw-aways from this project and it will remain in its place as a perfectly good guest spare.) with the addition of a sturdy wheelset, V-brakes, and the fork with all of its threadless headset simplicty, the project came together nicely. The apparently color-coordination was not planned, but I guess it's a nice bonus. So, here it is in November 2009:
Here's a close-up of the driveline:
This bike has been leaning on various walls around the house since some time during the summer of 2009, but I just got around to getting it out on some test rides. There are some tweaks left in store for it and some minor tuning to do here and there, but basically, this is it:
- Replaced crank with Sakae (traditional) touring triple crankset (170mm)
- Replaced cantilever brakes with Tektro V-brakes and levers
- Replaced rear derailleur with Shimano Deore LX 7-speed
- Replaced front derailleur with Shimano Deore ("9 speed)
- Replaced shifters with Deore LX 3x7 thumb shifters
- Replaced handlebar and grips (inverted 'city/touring' bar and cork grips sealed with shellac)
- Replaced rear wheel with complete, built used wheel
- Planet Bike fenders with mudflaps
- Front rack
- Rear light
- Front Taskforce Cree LED light
- Nashbar mini-panniers
- Crank Brothers Eggbeater pedals
- Kenda 1.5" urban tires
